RetroChallenge 2024/10
You don’t know what RetroChallenge is? Head this way …
This project’s pre-RetroChallenge history: The Raspberry Pi Pico / Sharp MZ-80K emulator project
1st October 2024
Food for thought from the March 1999 edition of the Sharp Users Club magazine.

2nd October 2024
The “to do” list
In no particular order, the remaining tasks are:
- Implement a file handling solution for retrieving and storing MZ tape files (.mzf format) from/to SD card (0% done)
- Complete ‘tape’ reading functions (60% done)
- Implement ‘tape’ writing functions (0% done)
- Complete USB keyboard to MZ-80K keyboard mappings (60% done)
- /VBLANK and /VGATE implementation (8255 functions) (50% done)
- Implement sound chip (8253 functions) (0% done)
- Implement a creative use for the bottom 40 raster lines of the screen that are not required by the actual emulation – e.g. showing the status of tape read/write operation, browsing files on the SD card etc. (0% done)
- Rationalise code comments (50% done)
- Write / collate programmer and user documentation for the emulator (0% done)
- Pico over clocking to replicate the 2MHz Z80 as accurately as possible (80% done)
- Thoroughly test emulator with machine code, BASIC and other programs, document what works! (0% done)
- Z80 core code review and corrections. Current work is using an abandoned (?) core from https://github.com/superzazu/z80/ due to its robustness, simplicity, MIT licence and ease of integration into the MZ-80K emulator (75% done)
- Migrate from Pico SDK 1.5.1 to 2.0.x (0% done)
- First release packaging (0% done)
Post October (release 2) ideas
- Test with a Pico 2 / SDK 2.0.x and create appropriate .uf2 file (0% done)
- Fast load / save to/from MZ-80K memory – not particularly authentic, but useful (0% done)
- A Pimoroni DVI board implementation (0% done)
- Create a version that will run on a RC2014 Pico VGA Terminal and/or RP2040 VGA board (0% done)
3rd October 2024
Sound (via the E004 and E008 addresses) is now working on the emulator. It uses the PWM capabilities of the Pico via gpio pins 27 and 28, which on the Pimoroni VGA board are connected to a stereo 3.5mm jack. Of course, we’re simply playing the same channel through each speaker, as the MZ-80K was mono only.
5th October 2024
I’ve decided to use the fatfs 3rd party library to access the sd card. Fortunately there are a number of people who’ve written low level code for the pico, and it didn’t take a huge amount of hacking (coupled with some pico_playground code) to get it to work on the Pimoroni VGA board I’m using.
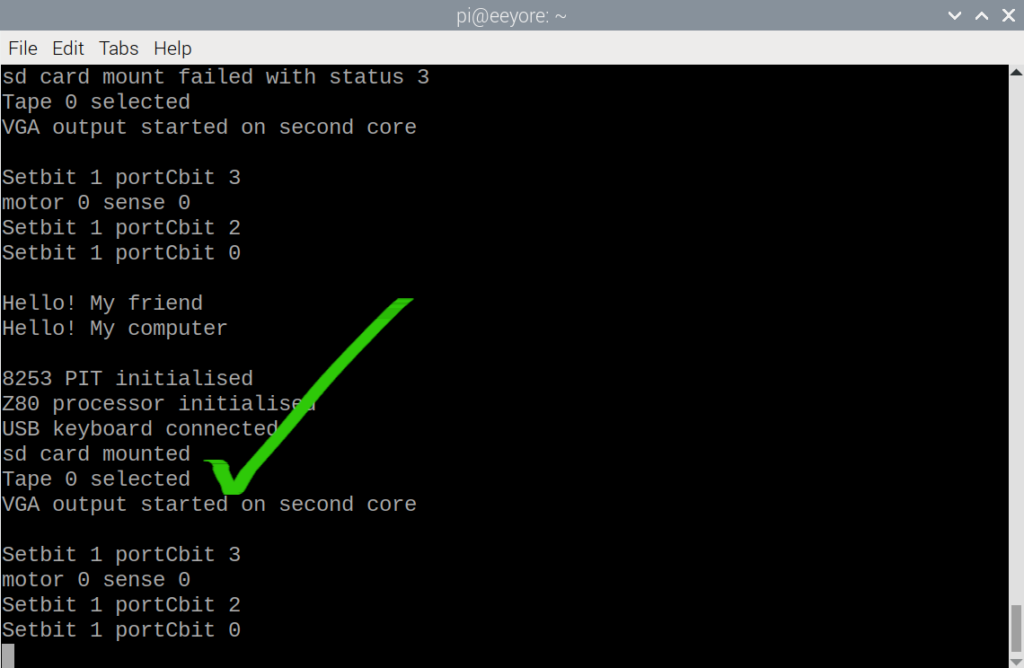
The bigger challenge is deciding how to faithfully emulate tapes. I could go all out and implement a capability as if it were a disk … directory navigation, file selection etc. etc. … but it’s meant to be a tape emulation, not a disk emulation. I want to make it as hard (and as frustrating) as trying to find files on real tapes. That may sound perverse, but it will give me an incentive (once the challenge is over) to go back and implement the MZ-80K’s FD ROM.
Unsurprisingly my real MZ-80K doesn’t have a disk drive – they were around 2-3 times the cost of the machine back in 1980!
Some more bodging experimentation later and I’ve successfully loaded BASIC and my 1982 port of “The Valley”. Well, it wouldn’t be a proper RetroChallenge for me without Tim the Barbarian setting off on another quest, now would it?!
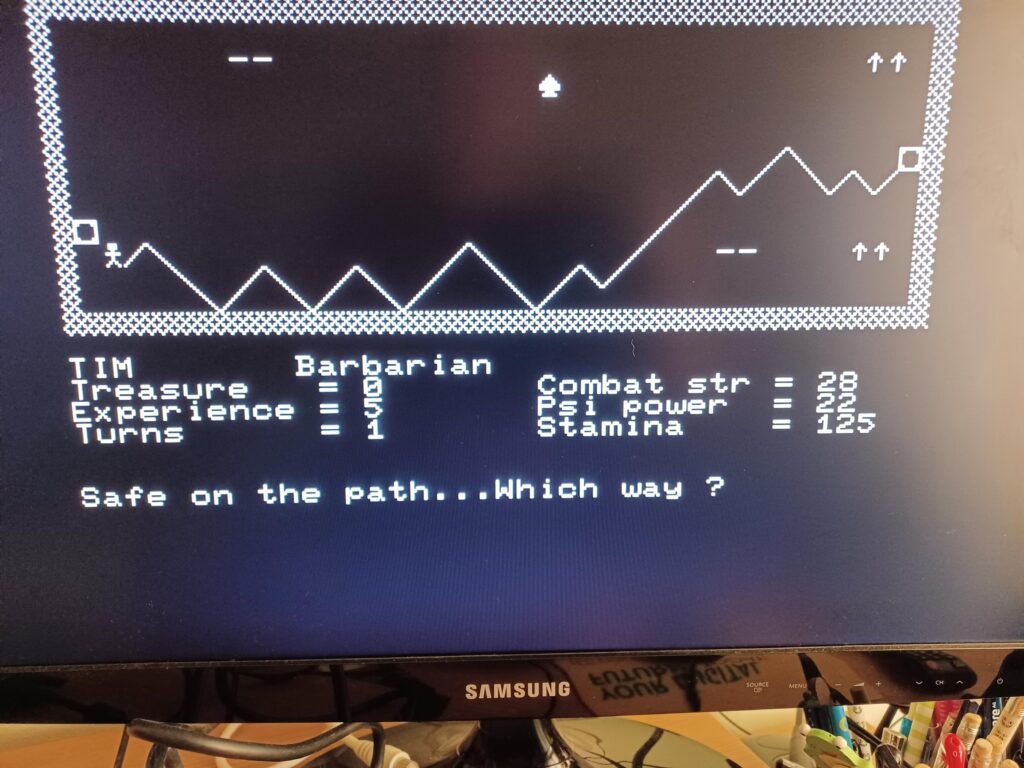
Tape reading from SD card has also helped me squash a couple of little bugs. I’d forgotten to switch the (virtual) motor off once a tape had been loaded, and I was counting 1 too many seconds in each 12 hour period in my 8253 implementation.
6th October 2024
I’ve made a decision about how to implement tape handling so that it doesn’t feel too inauthentic. I’ve implemented a key to allow people to toggle through the available tape files on the sd card. The name of the tape file available to be loaded next is displayed in an emulator status area (there are 40 scanlines at the bottom of the screen that the emulator doesn’t need that I’ve co-opted for this purpose).
Using LOAD or LOAD “name” reads it into the MZ-80K memory. If LOAD “name” is used, the emulator correctly ignores it unless the tape name matches the one requested.
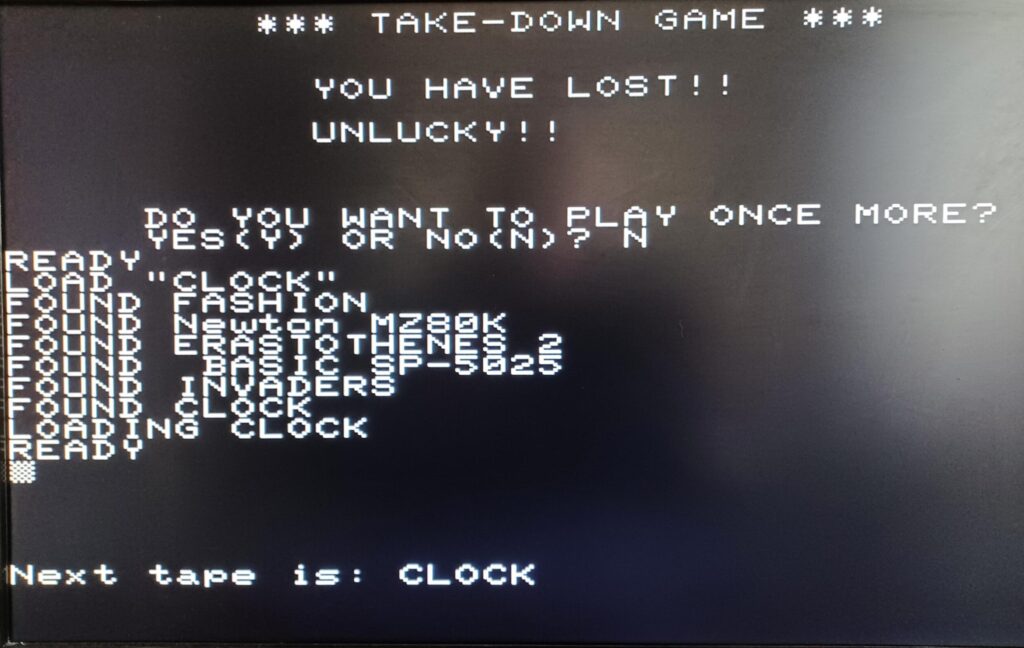
I’ve also implemented a key to clear the emulator status area so that authenticity can be retained once a tape has been loaded.
The next job will be to complete the MZ-80K keyboard mappings. This is critical, as without it I can’t play the original Sharp “Invaders” game as it needs one of the blue graphics keys to fire the cannon at the dastardly aliens …
To start, I’ve modified my original input routine which could only deal with a single code from the keyboard to deal with multiple codes – this will make it possible to use the function keys, arrow keys etc. from now on.
7th October 2024
Started work on a more rational keyboard layout. I’ve moved the ‘yellow’ keys (HOME, CLR, INS, DEL etc.) from their temporary <Ctrl> keys home to the Insert/Delete/Home/End etc. keys on a standard UK USB keyboard layout.
Just the 25 blue graphics keys to sort now. Will probably transfer these to the <Ctrl> keys, There’s 25 available for me to use (not <Ctrl> H, the backspace key, which is also used as DEL for my sanity) so that should be ok.

I’ve also found that overclocking the Pico to 175MHz gives me a pretty good emulation speed.
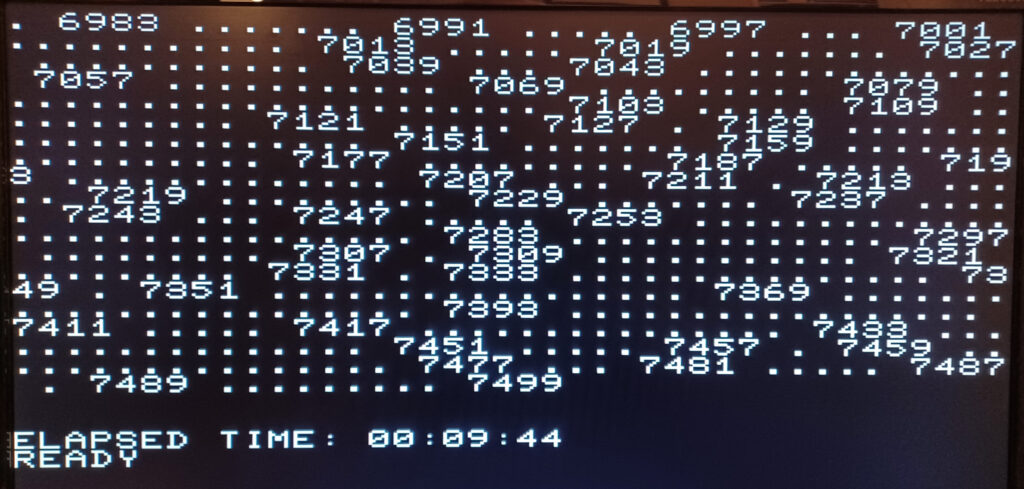
Finding the primes below 7,500 with my ERASTOTHENES 2 program now takes 9m 44s, compared with 10m 18s on the real machine. I therefore have the equivalent of a 2.1MHz MZ-80K – that’s close enough to 2MHz for me!
8th October 2024
I’ve finished rationalising the keyboard layout. I’m using <Alt> <letter key> for the blue graphics, so that I have a set of unique codes. The layout I’ve decided on maps the 5×5 blue key matrix onto a USB keyboard using the following scheme:
| Alt Q – Graphics 1 | Alt W – Graphics 2 | Alt E – Graphics 3 | Alt R – Graphics 4 | Alt T – Graphics 5 |
| Alt Y – Graphics 6 | Alt U – Graphics 7 | Alt I – Graphics 8 | Alt O – Graphics 9 | Alt P – Graphics 10 |
| Alt A – Graphics 11 | Alt S – Graphics 12 | Alt D – Graphics 13 | Alt F – Graphics 14 | Alt G – Graphics 15 |
| Alt H – Graphics 16 | Alt J – Graphics 17 | Alt K – Graphics 18 | Alt L – Graphics 19 | Alt M – Graphics 20 |
| Alt Z – Graphics 21 | Alt X – Graphics 22 | Alt C – Graphics 23 | Alt V – Graphics 24 | Alt B – Graphics 25 |
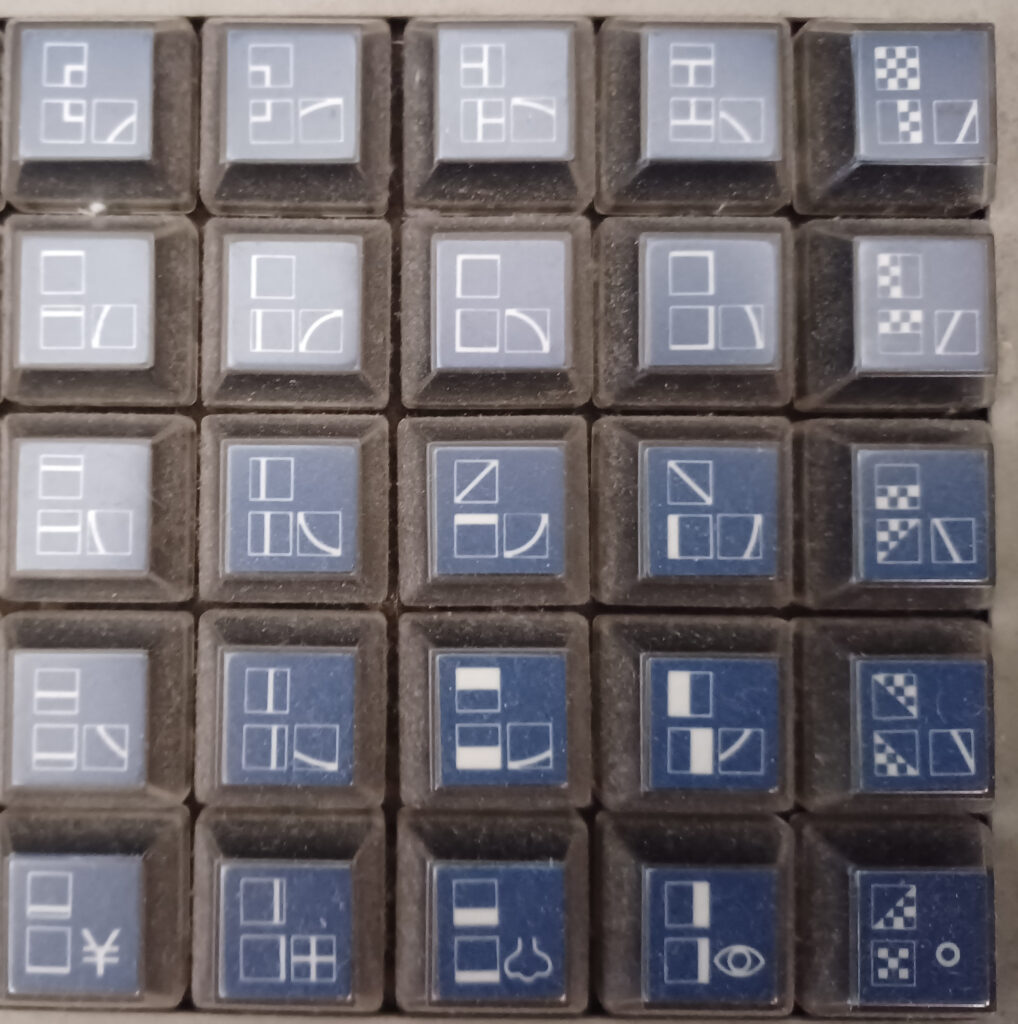
To display the yen symbol (Graphics key 21 – bottom left), the SML/CAPS toggle needs to be on (I’ve chosen the PgUp key for this job), and <Alt><Z> will then generate this character. With SML/CAPS off, <Alt> <Z> generates the thin line style shown at the bottom of this key. <Shift><Alt><Z> (or <Alt> <Z> with USB Caps Lock on) generates the thin line style shown on the top of this key.
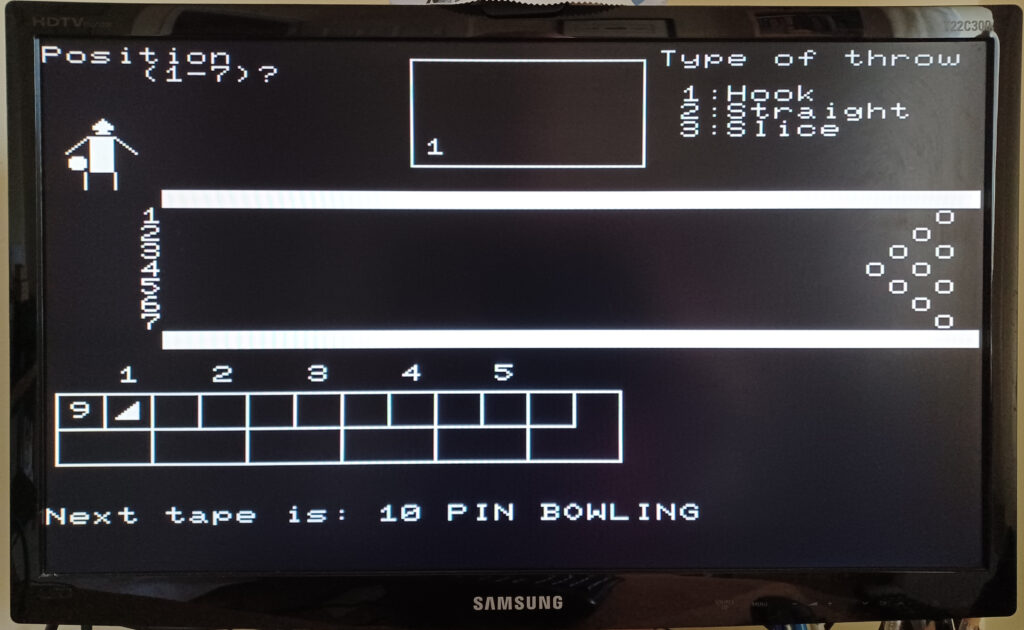
The only major piece of functionality left to tackle is writing to ‘tape’. That’s a job for a new day as it’s a fairly complex piece of work. So I’ve been running some more programs to see how the emulator holds up. It seems to work pretty well so far, even if my ten pin bowling skills aren’t that great.
9th October 2024
Time to update the ‘to do’ list.
- Implement ‘tape’ writing functions (0% done)
- Complete /VBLANK and /VGATE implementation (8255 functions) (50% done)
- Rationalise code comments (60% done)
- Write / collate programmer and user documentation for the emulator (10% done)
- Thoroughly test emulator with machine code, BASIC & other programs, document what works! (10% done)
- Z80 core code review and corrections. (75% done)
- Migrate from Pico SDK 1.5.1 to 2.0.x (0% done)
- First release packaging (0% done)
The most complex task on the list is the first one. I’m going to be making a start on it later today, but it’s not straightforward due to the way the code will need to interact with the sd card. Sharp ‘ASCII’ and normal ‘ASCII’ are very different, as are the characters permitted in a Sharp tape file name versus a FAT file name, so it’s not a simple 1 to 1 correspondence. I also need to write a similar (but not identical) finite state machine as I did for reading tape data.
I could probably get away without implementing /VGATE, as a VGA terminal doesn’t suffer from the ‘snow’ effects seen on a real Sharp MZ-80K display when blanking timings are off when a program updates the screen. This ‘feature’ is very visible in a lot of MZ-80K BASIC programs, but less so in machine code programs where authors tended to take more care. But it shouldn’t be difficult to do (/VBLANK already works), so for the sake of completeness it’s probably worth doing.
I’ve made a start on reviewing code comments and writing documentation. I have an advantage over the original MZ-80K manual authors as I’m not trying to translate Japanese into English, so there are no excuses for bad grammar.
Given that the Pico 2.0.x SDK has been out for a while, I’m going to see if I can simply move the code that currently uses the 1.5.1 SDK. There have been mixed results for others, but I don’t think my code is pushing the envelope too much. If it does work without complaint, then I may get a chance to test the emulator with my shiny new Pico 2 later on in the month.
Tape writing
I’ve already discovered something a little odd. If you SAVE to tape, the MZ-80K first attempts to read the tape! On a real machine this quirk doesn’t matter – it can’t read, as the ‘record’ button will have been pressed. On the emulator it starts to read any preloaded tape header – which is not really very helpful.
Fortunately the MZ-80K issues a motor stop command once it has read the phantom header and then starts to write. All this means that the read finite state machine needs to be reset when the first bit is written to tape, otherwise all kinds of weird things start to happen later on.
Later …
Hmm. Writing a tape really is tricky, as it’s the length of time that a ‘1’ is transmitted before it drops to ‘0’ which determines if we have a logical 1 or logical 0 (which is what I’m interested in, as I’m using .mzf files for emulator tapes).
I can see why a number of Sharp MZ emulators don’t even bother to attempt this! More thought needed. Maybe much more. I’m walking another railway trail for charity tomorrow (weather permitting), so hopefully I can think it through in more detail then.
Much later …
It looks as if it should be possible to get this to work reliably using the pico_time library, which is a relief. There’s enough of a difference between a long pulse (464us high, 494us low = 958us) and a short pulse (240us high, 264us low = 504us) with the read point being defined at 368us to make a logical 1 or 0 reasonably predictable.
A quick experiment seems to bear this out, although of course outputting diagnostics slows things down unpredictably in places!
Tomorrow is another day.
10th October 2024
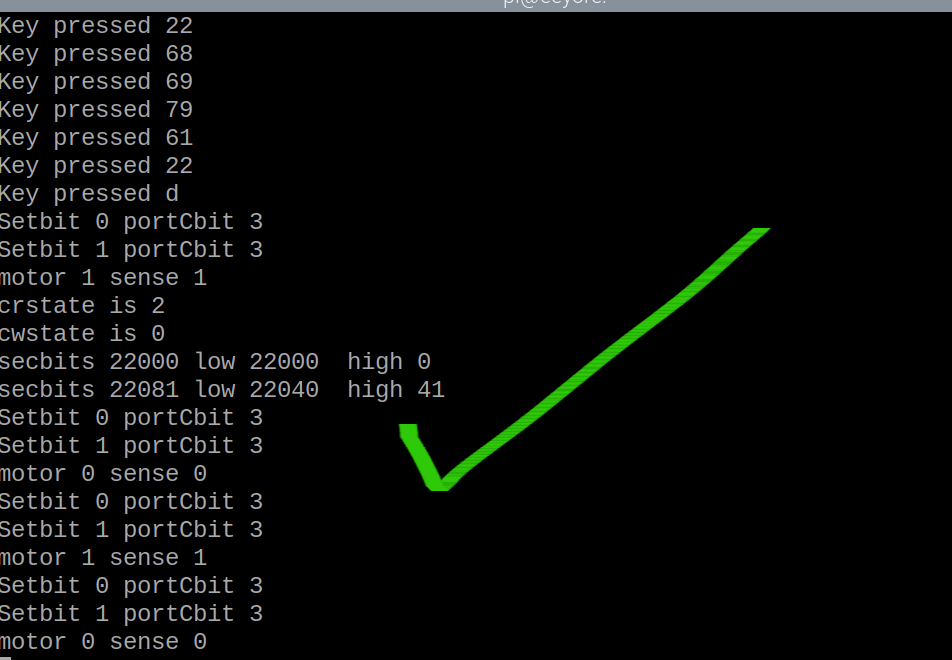
Refreshed after my walk along the Silverhill Trail this morning, I put a couple of diagnostics into my cassette write code. On an MZ-80K tape, the first 22,000 bits should be low, followed by 40 high bits, 40 low bits and 1 long bit. The first 22,081 bits should therefore result in 22,040 low and 41 high signals. And … they do!
Later …
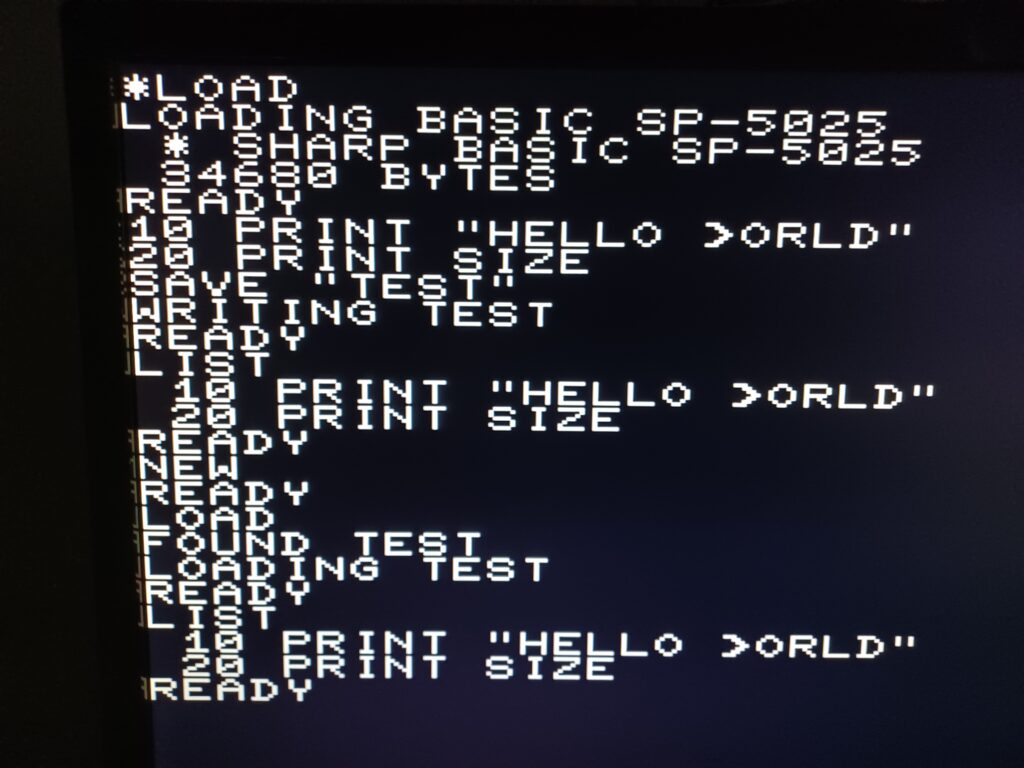
Tape writing is now working to a memory buffer. All that remains to be sorted is dumping the buffer to a file on the sd card and I’ll have all of the major blocks of functionality completed for the emulator. I can then focus on smoking out the bugs (there are definitely some lurking), testing different MZ-80K programs and writing some documentation.
I love it when a plan comes together 😉
11th October 2024
Writing to ‘tape’ (i.e. to sd card) now seems to work properly. I’ve restricted the real file names used on an sd card to alphanumerics and dash (-). In addition, a dash is used for everything in a sd card file name that isn’t an alphanumeric or a dash already.
This restriction doesn’t matter as far as the emulator is concerned as it picks up the tape file name from the tape header as it’s read. However, files could be overwritten on the sd card as, for example, a SAVE filename of — is the same as +++ or +=-, but I don’t think this is an unreasonable compromise for version 1.
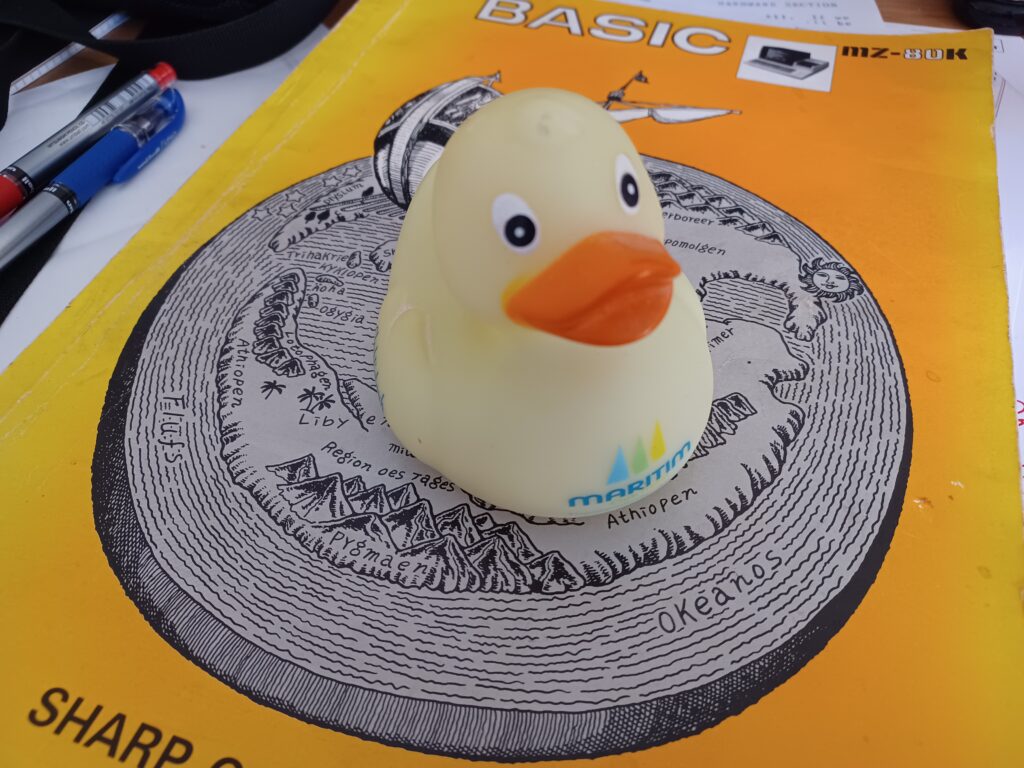
Now that I have all the major components in place, it’s time for a code review with my rubber duck to see what I’ve missed. That will probably take the rest of the day. He’s notoriously picky about things.
12th October 2024
I’ve spent this morning implementing suggestions from the rubber duck. The process picked up a few potential issues (for example, a possible, but highly unlikely, but now impossible divide by zero in the sound generation code) so it was worthwhile.
/VGATE is now implemented. This allows screen blanking / unblanking as per a genuine Sharp MZ-80K.
Next up is documentation … so I’m probably going to be quiet for a couple of days while I’m working on it.
15th October 2024
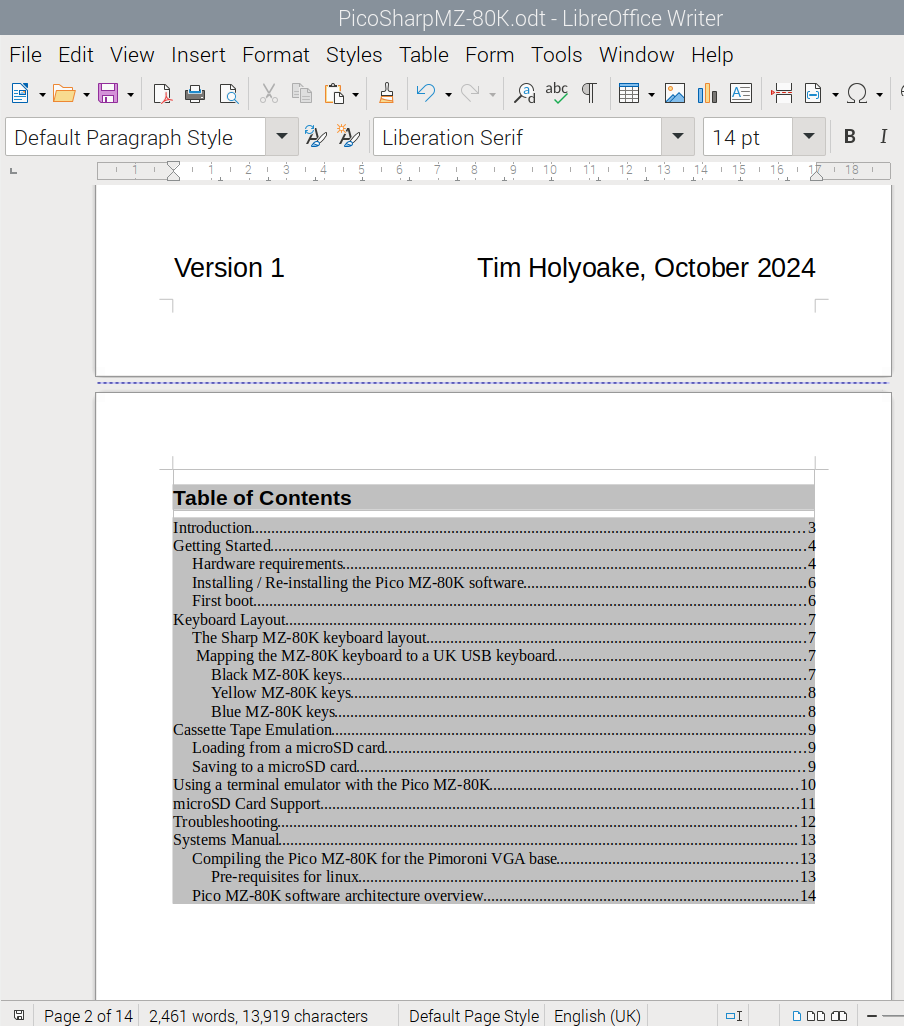
The documentation is making progress. Writing it is making me go back to check how the emulator is really working (rather than how I think it is) … especially for some of the keyboard mapping decisions I’ve needed to make. The user documentation is now largely complete; the systems documentation is a little sparse, but adequate when read in conjunction with the comments in the code.
16th October 2024
I’ve spent today debugging the documentation I wrote yesterday. I found several keyboard mappings that I hadn’t implemented. In this case my documentation was correct, so the code had to change.
On a spare Raspberry Pi, I followed the instructions I’d written on how to build the emulator from scratch. These were almost right, but in this case my documentation (and memory) was wrong, so that had to change.
‘Tape’ handling has been improved. I now have four function keys defined – F1 steps forwards through the files on the sd card, F2 steps backwards (the number of times I’ve missed a file by pressing F1 too vigorously was getting very annoying), F3 ‘rewinds’ the tape to the beginning and F4 clears the emulator status area of messages about the tape.
The emulator status area has been extended to report tape type as well as the file name stored in the tape header.
The tape type is one of m/c code, BASIC etc. or data. This information is stored in the first byte of the header – 1 for m/c code, 2 for BASIC programs or another language interpreter’s programs (it’s a shame that this flag is overloaded, as it means you can’t be sure that an interpreter can make sense of the file it’s loading) and 3 for data.
I think I’m about finished with coding now. I’m still toying with the idea of implementing a fast memory dump and retrieval mechanism, so that may well make it into the code before the end of the month.
The emulator has been designed and built around version 1.5.1 of the Pico SDK. I’m currently seeing if it will work under SDK 2.0.0. It has managed to build ok, so I now need to see if it runs properly.
While looking through the SDK 2.0.0 release notes I spotted that I will need to rework some of my code for the emulator to work on a Pico 2. I was expecting to have to change the over / under clocking parameters, but I hadn’t realised that the Pico 2 doesn’t have a real time clock!
I’ll need to make some of the code that emulates the 8255 lower level, but at least when I’ve done that, the same code should work on both platforms. I wonder what other gotchas lurk in SDK 2.0.0 and the Pico 2?
Later …
Testing of the Pico SDK 2.0.0 has been disappointing. Running the emulator with my BASIC prime number sieve runs a little over 8% more slowly than identical emulator code built with SDK 1.5.1.
There’s also some odd instability that becomes apparent with SDK 2.0.0 – for example, random flashing of the Pico’s green led that doesn’t happen with SDK 1.5.1.
I’m not the only person to experience issues with the new SDK, so until a 2.x.x release is made available I shall stay with SDK 1.5.1.
SDK 1.5.1 isn’t an option for Pico 2 hardware. But given the increased speed of the Pico 2, an MZ-700 emulator would be fun to build at some point. Maybe by the time of the next RetroChallenge, the developers at Raspberry Pi will have sorted SDK 2 out enough for me to attempt this …
October 17th 2024
I’ve written some initial code for the fast memory save / read capability I’ve been thinking about. At the moment, it uses a pseudo tape header (of type 0x20 – far enough above the range used by real MZ-80K’s) and then dumps the whole of user and video RAM to the file.
This almost works … but I suspect that I also need to store the state of the Z80’s registers for it to work properly all of the time.
October 18th 2024
The people of mastodon have spoken … well, 9 of them have!
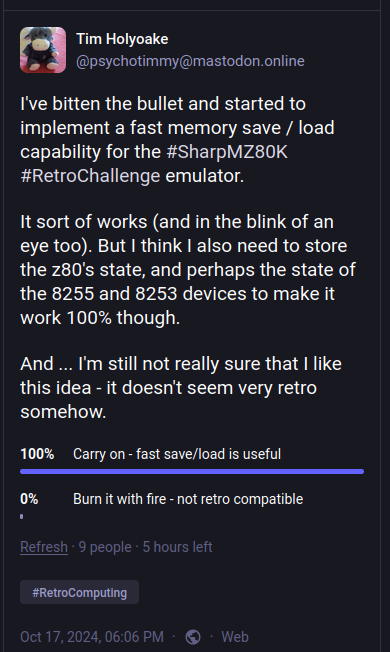
Storing the Z80’s state in the memory dump file was straightforward, and means that the save / load capability now works pretty well.
It’s not completely perfect as I’m not saving the 8255’s state, so things like the clock (TI$ in BASIC) don’t get set to the right value when the dump file is reloaded. This isn’t crucial for most things, but it does give me an excuse to refactor the way that I’m holding global variables for the 8255 (and other things too). Something for the post-October “to do” list.
20th October 2024
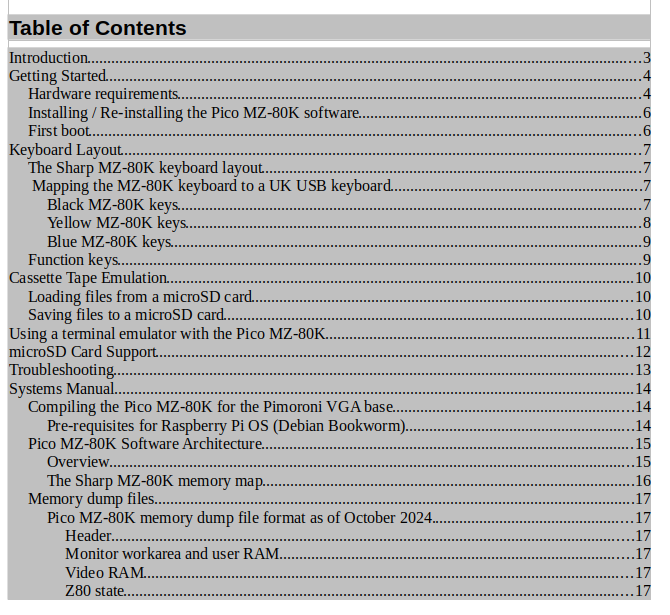
Back to documentation this morning – making progress (and I’ve even checked the spelling!)
I’m now trying to decide when to let version 1 of the emulator escape into the wild. I could wait until 31st October, but it might be nice to get some feedback before the end of RetroChallenge.
However, there’s only 11ish days left and I’m not going to be around much over the next week. So it will probably have to be close to the 31st anyway. I’ve still got a couple of things I want to tweak, and I also want to test and document the emulator with as many programs as I can.
21st October 2024
Testing was going really well … until I plugged a real USB keyboard into the Pico (instead of using minicom). Guess what – it didn’t work!
I think I know what the problem is. I’ve been using the ‘tud_cdc_xxxx’ functions, and unlike a terminal emulator, I don’t think that’s going to work for a USB keyboard. This means that a little bit of keyboard code rewriting is required. Drat!
22nd October 2024
Like many things Pico related, the lack of good documentation / understandable examples slowed me down a little yesterday. I think I understand how to implement the keyboard as a HID device as I now have some skeleton code working. A full implementation is a job for later in the week as I’m going to be looking at battlefields for the next couple of days.
Testing of the emulator with actual MZ-80K programs is still going well. I spent far too long playing Knight’s Computers Backgammon yesterday. I did win – once!
24th October 2024
Decent progress on implementing real keyboards as HIDs through TinyUSB this afternoon. It’s now working after a fashion, but not very well, as the keyboard input is “bouncing”. I’m also doing something that I hate – two different source code approaches (albeit #ifdef’d) depending on whether input is coming from a keyboard or via a terminal emulator. Yuk.
Once I get real keyboards working properly I clearly have some refactoring to do. But that’s a nicer problem to deal with than the one I had a couple of days ago.
Later …
Going for a walk with my rubber duck in tow always helps me figure out what I’ve messed up when I’m programming. It only took until I was halfway around my usual circuit before I realised what I was doing wrong – debouncing the key and then sending the un-debounced key report to the emulator anyway. Once home, a quick thirty second edit in vi (I’m hardcore retro, me) followed by a rebuild and all is well.
That’s enough for today. I’ll be refactoring tomorrow and then it’s back to the exciting bit of this project – testing more real Sharp MZ-80K programs on the emulator!
25th October 2024
The keyboard is now fully re-implemented (and refactored) using tuh_task() and associated callbacks. It’s more efficient, so I’ve been able to remove the overclocking I introduced earlier on this month. The emulator still runs a little fast, but under clocking to 100MHz (from 125MHz) makes it slightly too slow.
I’d rather it was a little too fast as I’ve found that it’s always easier to slow code down than to speed it up 😉
A one microsecond sleep (busy_wait) after each z80 opcode is executed seems to approximate a 2MHz MZ-80K fairly well, so I think I’ll leave this bit of the code alone for the time being.
I need to have a think about how best to implement repeating keys. This is not urgent, as the SP-1002 monitor didn’t support repeating keys by default. However, other monitors that will run on the MZ-80K do support this feature. It’s also possible to work around the SP-1002 monitor to implement repeating keys – I think the INVADERS program did this for gun movement, for example.
The rest of RetroChallenge month will be devoted to testing and pushing release 1 out of the door!
26th October 2024
It turned out that implementing repeating keys wasn’t too difficult, even after my flu and covid jabs this morning. Getting around to doing this ‘not urgent’ task makes some of the games I’ve been using on the emulator slightly more playable.
This code has also slowed down the emulator sufficiently that I’ve been able to dispense with the busy_wait I introduced only yesterday. Without it, the emulator is running around 10% faster than a real machine, but I’m sure I can slow it down a little further by writing more ‘not urgent’ code!
There’s now a separate post (so I don’t clutter this progress report up too much) detailing the software I’ve tried on the Pico MZ-80K emulator, my notes on it and where the software can be found.
Later …
I’ve managed to tweak the main loop of the emulator so that my benchmark primes program runs in 10m 17s … just 1 second faster than on a real MZ-80K! I think that will do nicely.
27th October 2024
I’m still working my way through a lot of MZ-80K software, but as the emulator seems to be holding up well I’ve let a beta version escape into the wild.
I’ve not uploaded any source code yet – so you’ll have to ignore the systems manual part of the documentation for the time being – but my intent is to let version 1 escape on 31st October. Halloween. Seems appropriate!
28th October 2024
Today I’ve fixed a couple of minor bugs with tape handling and improved the tape counter display that runs when a file is loading or saving. But mostly I’ve been playing games …
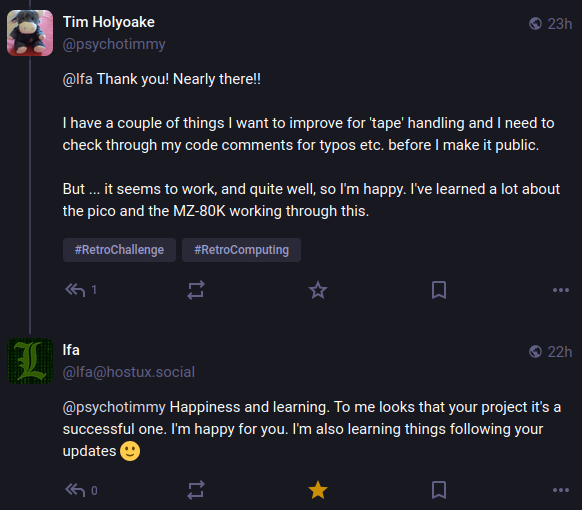
I’ve been very grateful for the feedback I’ve had via Mastodon during RetroChallenge. This comment hits the nail on the head – it’s exactly why I’ve bothered with this project at all – to learn stuff and be happy!
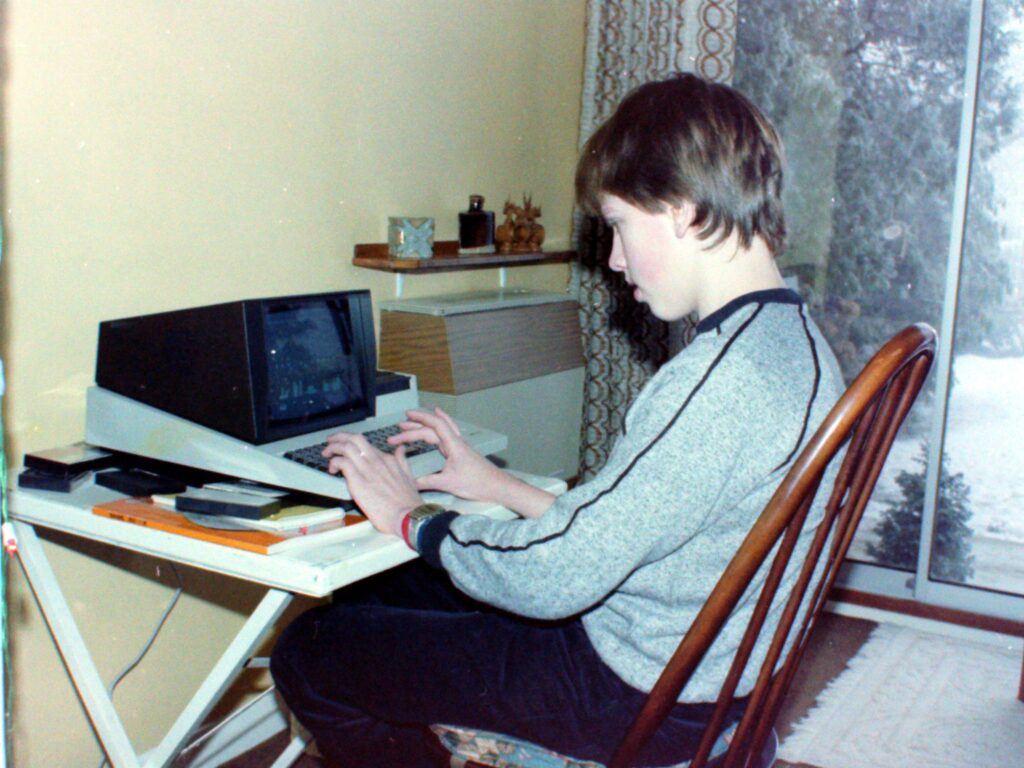
There’s another very personal reason for doing this. I still have the Sharp MZ-80K that was a joint Christmas present to me and my brother from my parents in 1981. Somehow, I got to keep the computer (my brother bought a C64 at some point) and it’s still in working order today, if a little rusty in places. A bit like me I suppose. It’s of enormous sentimental value.
He doesn’t read my blog (at least, I hope he doesn’t!) … but some of the software I’ve been playing with was either written or typed in by him before the C64 won his affections. Wouldn’t the emulator loaded with his software (and some other good stuff) make a good Christmas present in 2024, instead of beer? (Perhaps as well as beer, I’m not a monster!)
29th October 2024
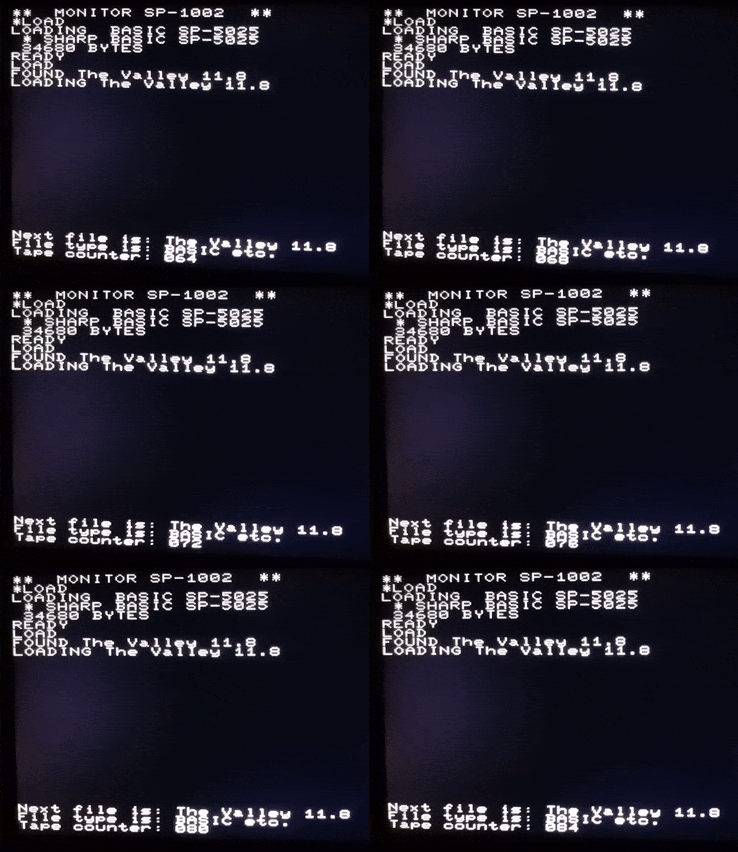
The biggest change I’ve made today is to the tape counter in the status area. In the beta version, I’m using arrows to reflect where the finite state machine is when processing a tape read or write. It’s better than nothing, but as quite a lot of the time is spent in the same state, it wasn’t that useful.
Instead, I’ve now implemented a three digit counter that mimics the real machine. It starts to move almost immediately when reading a tape, but because of the header length required when a tape is written there’s a big pause before it starts moving. I’m prepared to live with this because most of the time tapes are read. It also means that my counter moves the same distance when reading and writing the same file.
There was also this – my mad little project is attracting attention from the people at hackster.io.
I don’t think I’ve been referred to as ‘Holyoake’ since I was in English lessons at secondary school, where a rather severe ex-military man used to bark my name out when I wasn’t paying full attention.
30th October 2024
I made a few small tweaks to the code this morning after talking to my rubber duck again. So far, they don’t appear to have broken anything. I may end up releasing version 1 tonight – a whole day early!
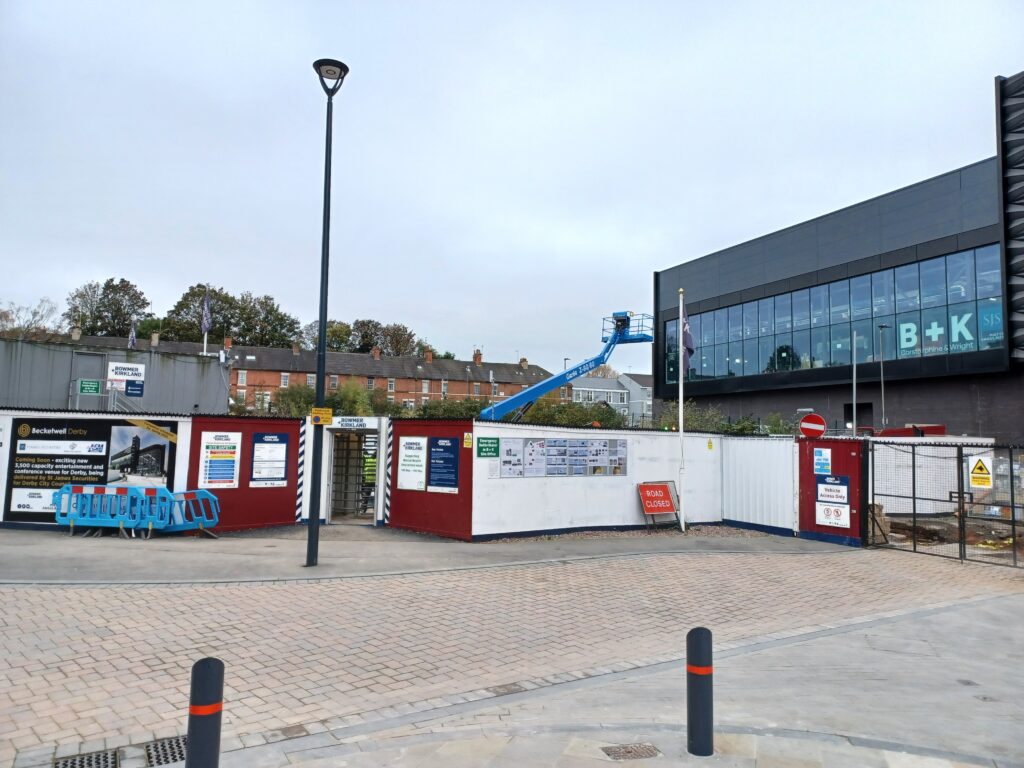
I was in Derby city centre earlier on today. My MZ-80K came from Datron Micro, who in 1981 were based in the Duckworth Square shopping centre. The centre was demolished more than 20 years ago and has remained a hole in the ground ever since.
The city finally decided how to regenerate the area and a new concert venue is almost complete behind where the shopping centre used to be. The shopping centre is still a hole in the ground. Hopefully once the redevelopment is finished it will become something beautiful, like the Sharp MZ-80K was to teenage me in 1981.
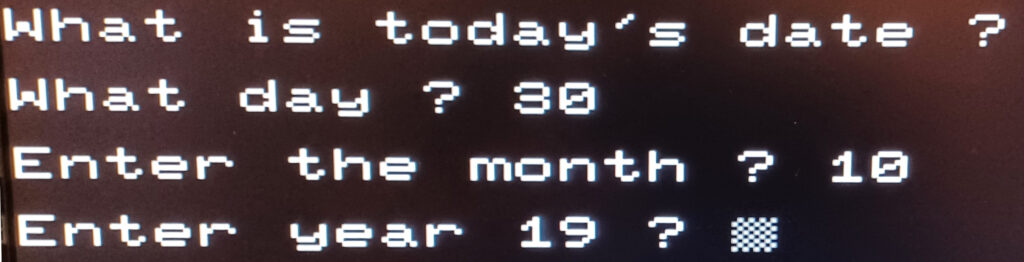
Back to the MZ-80K emulator, and I’ve found a Y2K bug in the Knight’s Computers Lifespan program 😀
Later …
And … it’s released escaped! The current version, including source code.
I shall write up my reflections on this year’s RetroChallenge tomorrow.