Building a Pico RomWBW
At the end of September I attended the first RC2014 assembly at The National Museum of Computing. I'd gone with strict instructions not to buy any more computers, but I couldn't resist buying a Pico RomWBW kit with a wooden case from Derek of Extreme Kits. Having moved house in August, a holiday booked in October and Christmas rapidly approaching, it took me until the new year to get around to building it.
The kit emulates a Z80 running Wayne Warthen's RomWBW software. This is something I've been meaning to try out for a while, and buying the Pico RomWBW kit seemed like a good way to do it.
The build took me most of a day. I found the trickiest part was assembling the case. I managed to break a part of the base before I'd persuaded the front and back panels into it, but nothing so bad that a bit of glue couldn't fix. The thing I was most worried about before starting was soldering the micro SD card holder to the pcb, but my soldering technique is obviously better than I feared as it presented no real difficulty.
Here's a few pictures of the build in progress.
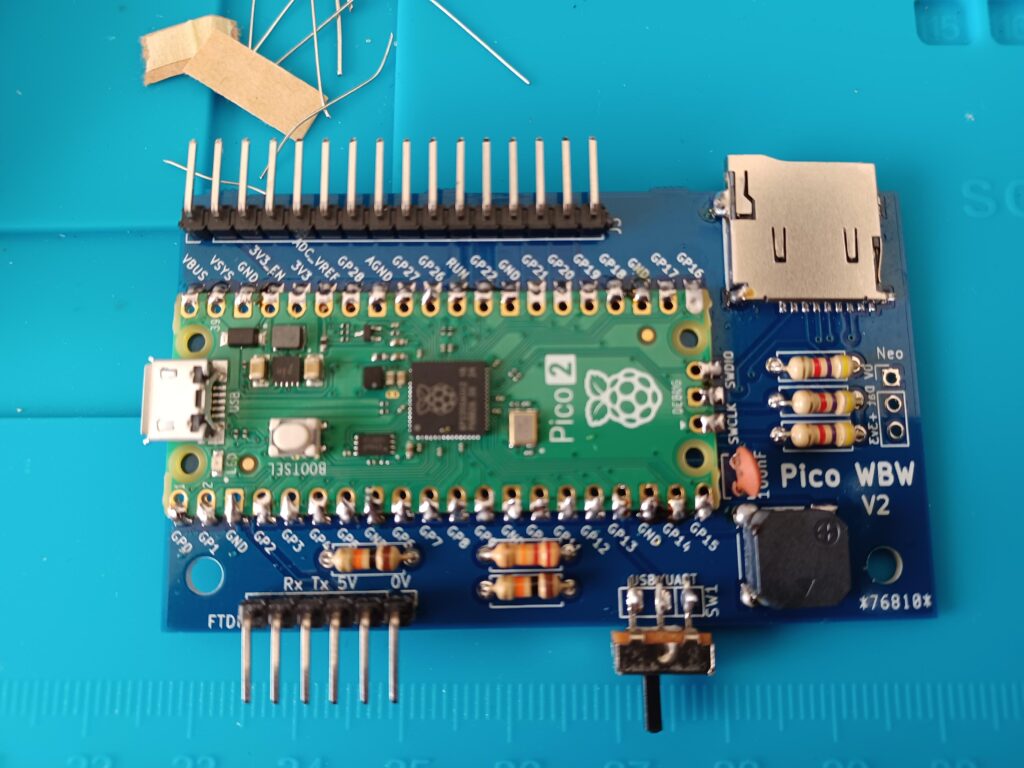
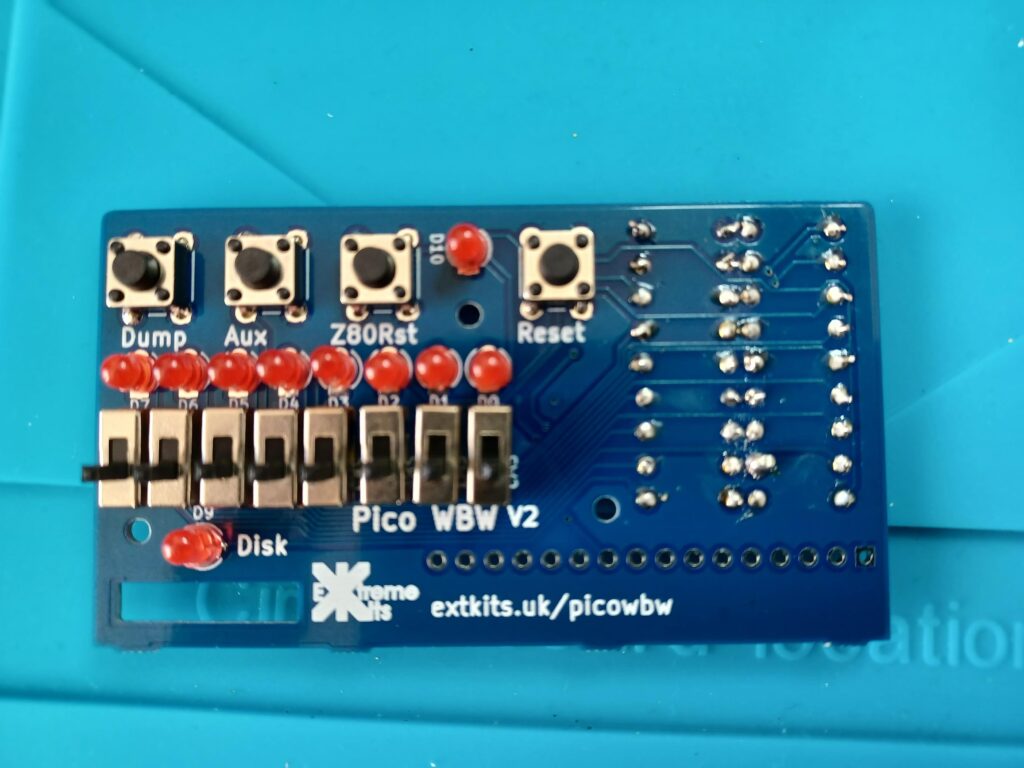
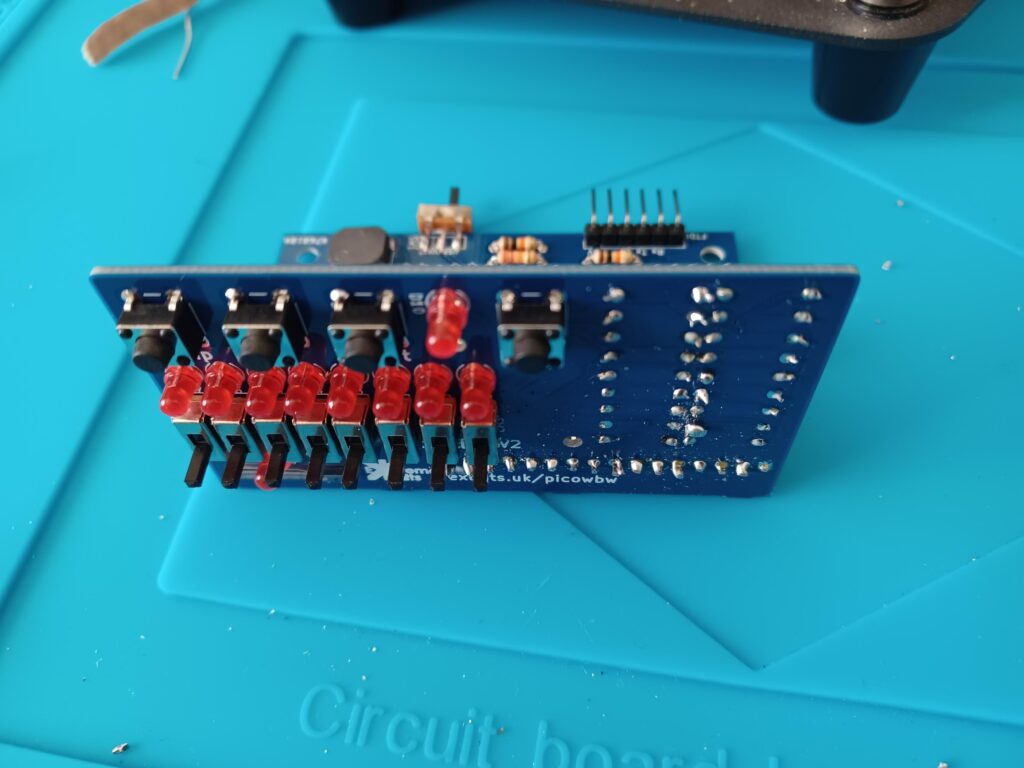
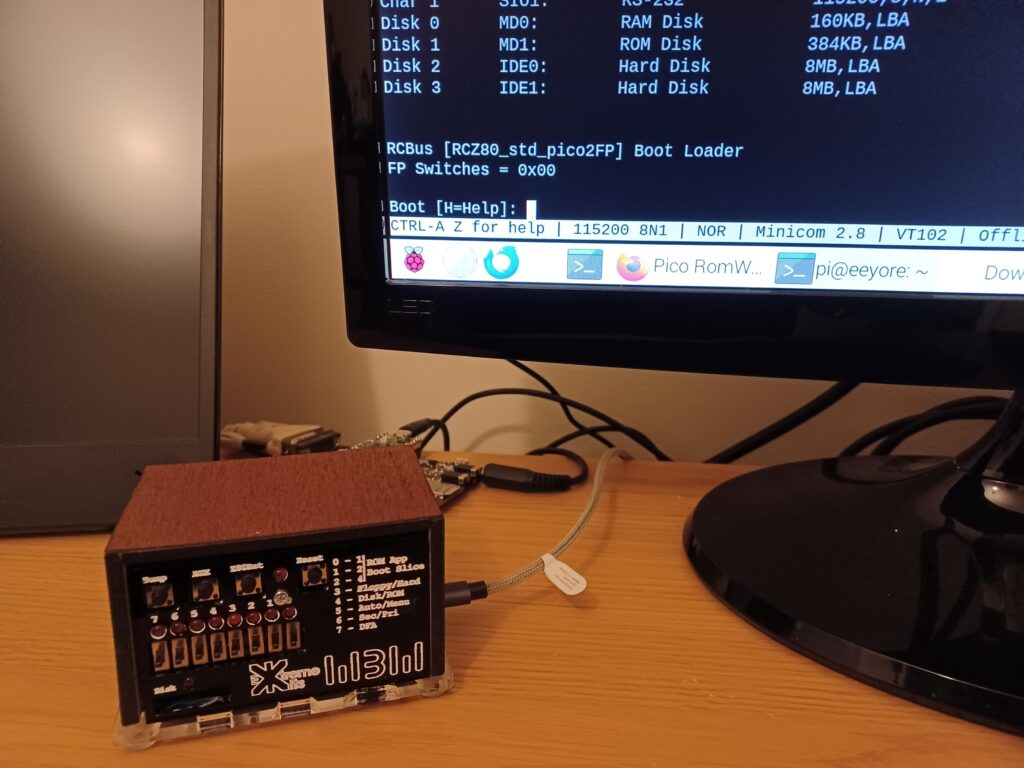
I chose to build the Pico RomWBW using a Pico 2 I had in my 'cardboard box of doomed projects', as I remember Derek saying that it was a bit of a struggle to fit all of the software into the more limited RAM on an original Pico. I think this decision future-proofs my 'investment' (!)
Flashing the Pico 2 with the correct image and setting up the SD card was straightforward. The system booted correctly first time. I love the simulated disk noises it makes when it's running.
I'm now playing with various disk images from the RomWBW repository while trying to get my head around the very impressive documentation supplied by Wayne. There's a lot to look at - it's an incredible piece of work.
I've also built my own .uf2 file for the kit using Derek's source code and the version of libz80 I fixed a couple of years back so that it calculates square roots correctly when running CBASIC. I really need to get around to pushing my fixes back to the original author, but it's not straightforward as it's moved on somewhat since I forked it.
This was a good way to start 2026!